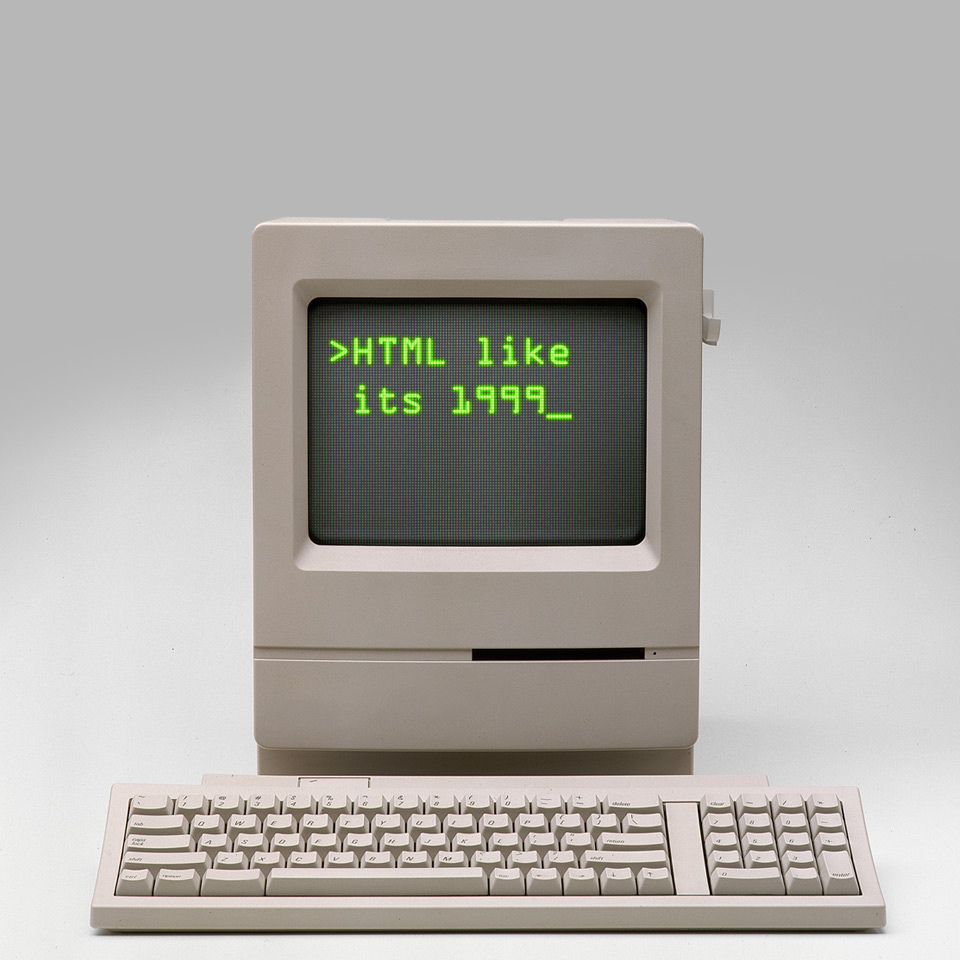
HTML newsletters (otherwise known as eNewsletters or eNews) are a popular way to keep your customers informed and engaged. However, designing and building them can be an infuriating experience. Web language and platforms have advanced dramatically over the years, but not HTML emails, they are annoyingly stuck in the 90’s with Furby’s and Dance Dance revolution.
Take Microsoft Outlook for instance. Instead of using the Internet Explorer engine (which is bad enough already) to render HTML emails, Outlook uses the Microsoft Word engine. Mind boggling. The secret to building a successful HTML email is to essentially forget best-practice, standards and common sense, and pretend you’re living in the past. Tables, table cells and pixels are your friends!
After much trial, lots of error and plenty of internet trawling for answers, here are some useful tips to get your enews design and development working somewhat as they should.
1. Your enews should not exceed 600px in width
This is a general rule to ensure that your HTML email is still readable in Email clients that use a preview pane.
2. Don’t use divs, use tables and table cells
Divs dramatically changed the way web pages are designed. Now you could put things wherever you liked on a page, even on top of other things! They will not work in HTML emails though. Put on your 90’s hat and start nesting your tables.
3. Use inline styles
You can add CSS rules to the head of your HTML template, but don’t expect them to work. In fact, you could almost forget about CSS in the head altogether as some clients will strip it out. Just to make sure, always add the same rules inline. This is also true for fonts, background colours and styles, specify them in your tables. And be sure to specify everything in long form.
For example, this
<h2>
Should be written as
<h2 style=" font-family:Georgia, 'Times New Roman', Times, serif; font-size: 16px; font-weight: bold; color: #000000; text-align: left;">
As another example
<table class="content">
Should be
<table cellspacing="0" cellpadding="0" border="0" align="center" width="560" bgcolor="#339900">
4. Don’t rely too heavily on images
A majority of Email clients will automatically block images by default. This means all of those lovely graphics you have created will be replaced by empty boxes. If you can, try to create HTML email campaigns that don’t use too many images, or use them sparingly. Avoid using PNG files as some email clients do not support them. Add alt text to your images as well so that if they are blocked, viewers have at least some idea of what they’re supposed to be looking at. (You can add styles to alt text as well, so if images are blocked, you can still make your campaign look a bit less like ass.)
If you find a blue border being added to your linked images, try adding the following:
style="border-style: none;"
5. Don’t use background images
This is something that should be taken into account before you start designing your enews templates in Photoshop. Background images are a great way to add contrast and branding to web pages, but not email campaigns. They may work in the body tag of your HTML email, but don’t expect them to appear anywhere else. Use flat hexadecimal colours. Not only does this guarantee there will actually be something there to look at, it will decrease bandwidth usage.
6. Use pixels instead of cell padding
This seems counter intuitive, but we are talking about HTML emails here. Internet Explorer renders cellpadding differently to Firefox et al. Don’t even expect cellpadding to work at all in Outlook. Instead, nest your tables with invisible pixels in your table cells set to the desired width. To be safe, make sure you still specify the fixed width or height of your cells as well, just in case images are not loaded.
7. Don’t rely on margins
Margins may or may not work. This seems to be up to the discretion of Outlook as to whether it can be bothered rendering margins or not, so to play it safe, use pixels in table cells instead.
8. Remove the ‘px’ from height and width in your tables and table cells
Outlook completely screws up layouts if you specify the pixel dimenions, or ‘px’ for widths and heights. You will find that simply removing the ‘px’ from all of your tables and table cells will ensure Outlook renders your layout as it should be (or closer to it). Make sure you keep the ‘px’ for images, style tags and CSS though.
This
<td height="60px" width="560px" valign="top">
Should be written as
<td height="60" width="560" valign="top">
9. Horizontal rules are not reliable
From my experience <hr> tags sometimes work, sometimes don’t. If you’re having trouble with <hr> tags, try using a 1 pixel high image instead.
10. Specify your text styles with the <style> tag inline
As above, ensure that your <p> tags and the like have a specified inline style. It may seem like a bit of overkill to be specifying styles for all of your tags, but it will force IE and Outlook in particular to pay attention.
11. Specify all heights and widths
Don’t assume that just because you have specified the your height, everything else will take care of itself. Make sure you specify heights and widths to all tables, table cells and images that are fixed otherwise IE and Outlook will just make things up on the fly, even if that fixed width or height is ‘0’. For images in Outlook, you may need to add the following CSS rule to ensure there is no white space added to the bottom of your images.
img {display:block;}
12. Keep your code clean
Once all of those nested tables start stacking up, it can be difficult to see where you are and what you are doing. Make sure you indent and comment your code.
13. Test, test, test!
Make sure to test your HTML email in all browsers and email clients. There are a couple of services which can do this for you such as Litmus and Emailonacid.
If you want to check compatibility in Outlook but don’t want to set it up with an email account, simply do the following.
1. View the HTML email you are designing in Internet Explorer.
2. Click File>Send>Page by Email
This will render the HTML page in a compose window using Outlooks Word engine and allow you to check it without sending it to anyone. (If you can’t find the ‘File’ menu item in IE, hit the ‘Alt’ key. IE helpfully hides all menu items for us to magically find by accident.)
14. It will always be broken for somebody
Know that no matter how much effort you put into making your HTML emails work, it will always be broken for someone out there. The sheer number of browser and email client configurations means it will be rendered differently, and possibly not at all. The best you can do is get it working correctly in the most common email clients, and cross your fingers for the rest.